There is pretty much no information available on how to restring these little buggers, so I put together what I could find and took mine apart. I do not have a legit to compare to, so I'm just going off what few tutorials did exist and what owners of legit ones have said. This method I'm going to show you works really well for me, as you'll be able to see in the pictures, so hopefully it works for you too.
(Pardon for the messy background. That's my painting table so paint is everywhere.)
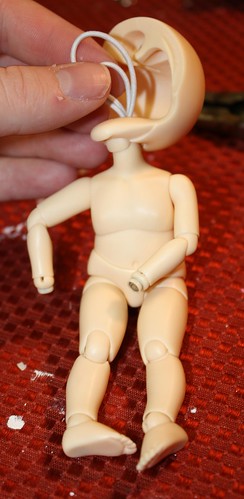
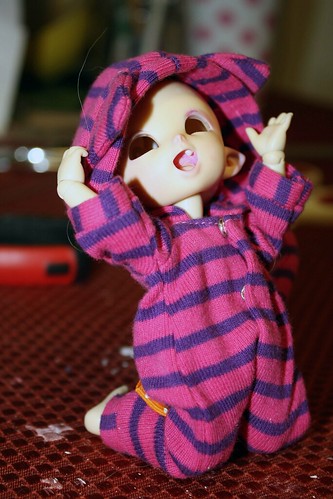
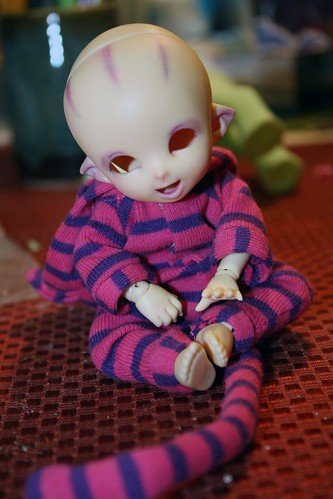 My victim is Rumpelstiltskin ('Stilts), a Cheshire Cat Minion. Before this, he could barely sit upright. I'm not happy with the results of this restringing, but my fingers hurt too damn bad to do it again for awhile.
Stilts is a recast pukifee Pongpong from Steven.
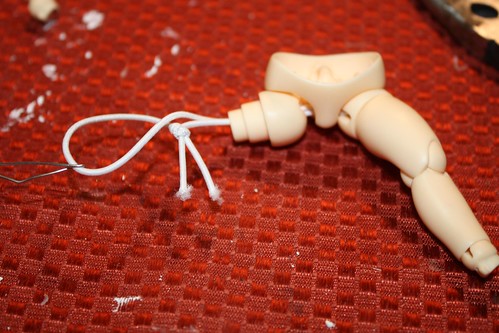
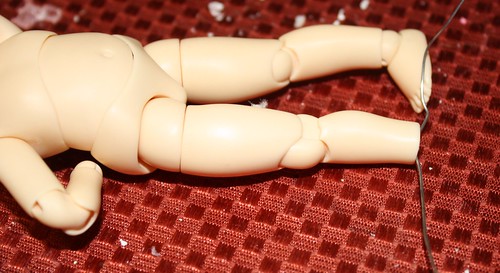
NOTE: Make sure you keep the knot in the legs either in the shin or up in the hip area. DO NOT let it get stuck in the knee, like mine did. This will really make it a pain in the neck to pose.
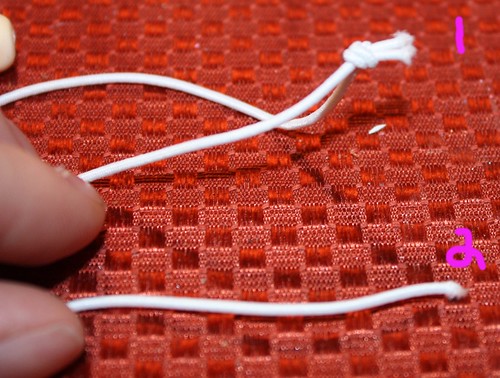 |
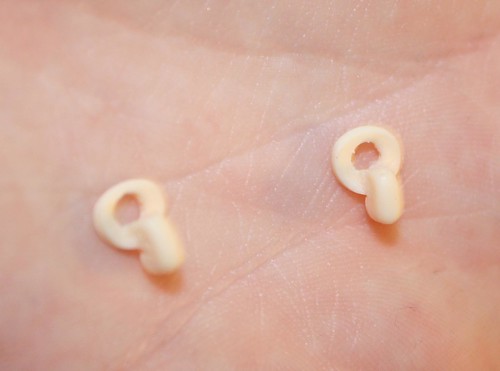
| #1 is the elastic S/L sent. #2 is elastic from JoAnn Fabrics. |
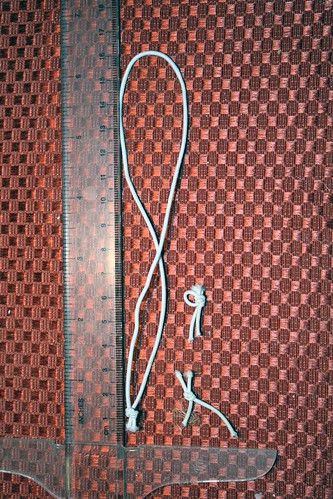 |
| This is just a visual. The longer length is the amount of elastic S/L used to string the whole doll. I cut an equal length for the legs then ended up removing the little pieces you see here. |
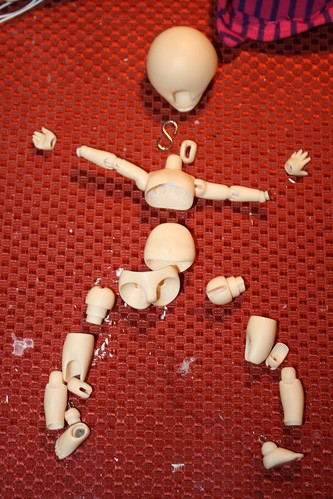
1. Unstring the doll. Keep the pieces separated into left and right pieces. Most have little Ls and Rs on them.
 |
| These are d-tents, or clicky bits. You'll need them. |
2. Next, you will need to use something like the end of a paintbrush to remove this thing film here. This is the part where the d-tents will sit.
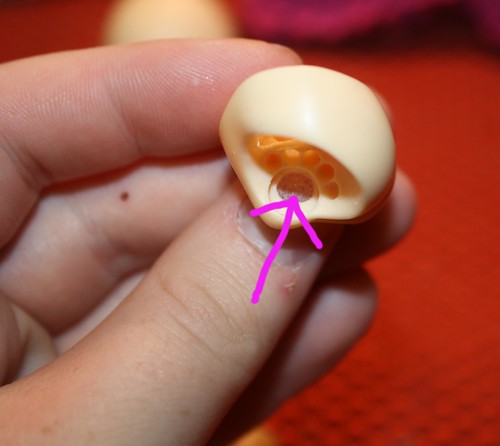
You will also want to remove any flashing in the circle/hook thing here, as this is how you will string on the torso.
 |
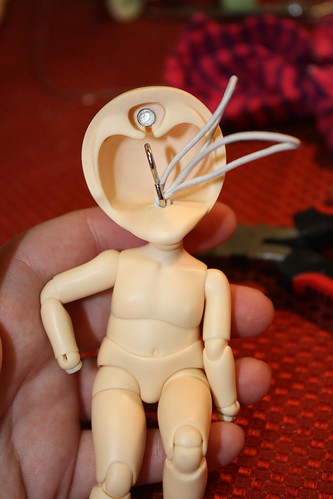
| 1. The hook thingy and 2. Recasts will have the butt magnet filled in. You'd have to dig this out to put a butt magnet in for tails and stuff. |
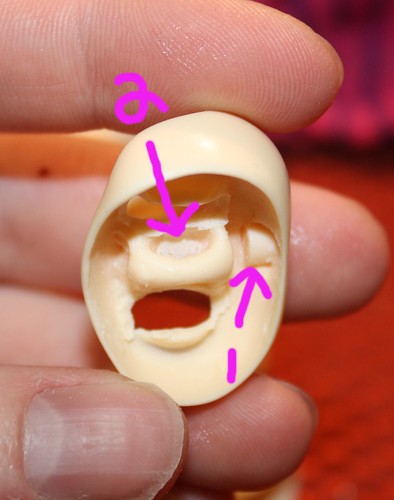
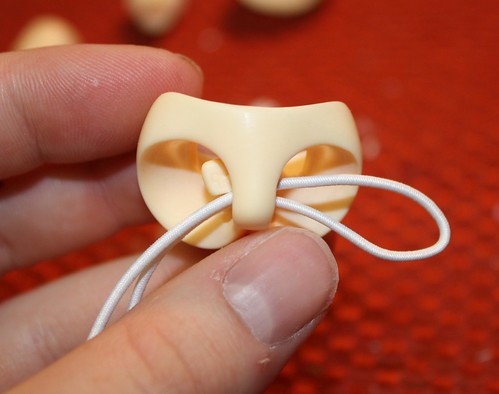
3. This is how you'll put the d-tents in. This part is tricky and weird because my knot is too big. Fold the elastic and stick one end through the d-tent. (There's probably an easier way to do this, but until I figure it out, here's how I did it.)
Then, put it through the hole in the pelvis where you removed the flashing. Your knot should be on the left side, before the d-tent.
Next, slip the other d-tent on.

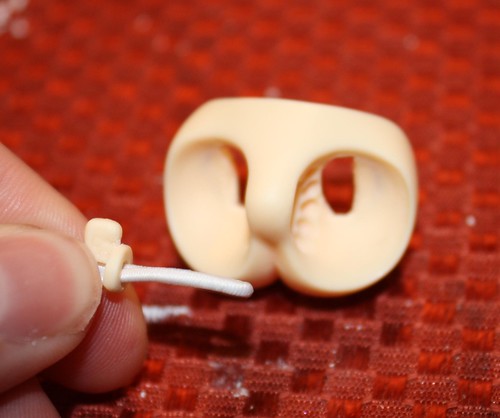
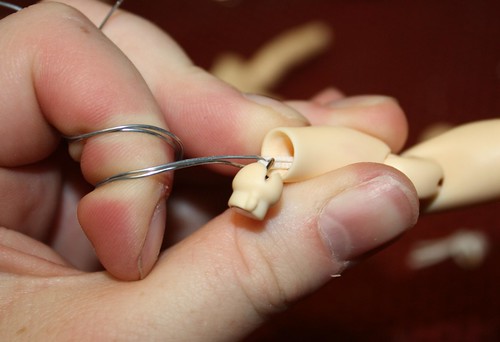
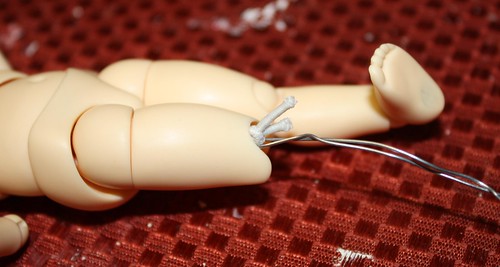
4. Assemble the leg. I use wire to help me thread the elastic through.
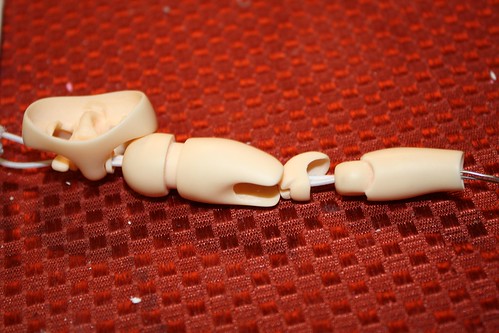
This is how the d-tent fits into the upper leg piece:

5. Add the ankle joint. Pull tightly on the other side to tighten everything up.
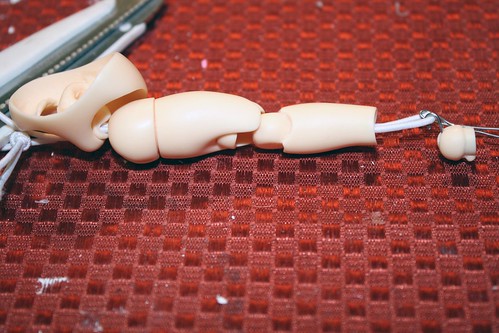
6. Repeat step 4 and 5 on the other side.
This is what my fingers looked like trying to put the other ankle on. It works better if you have help…
 |
| Ouch.... |
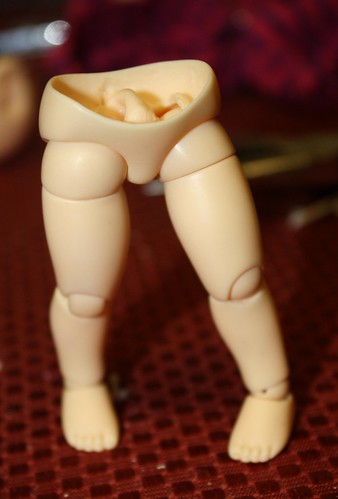
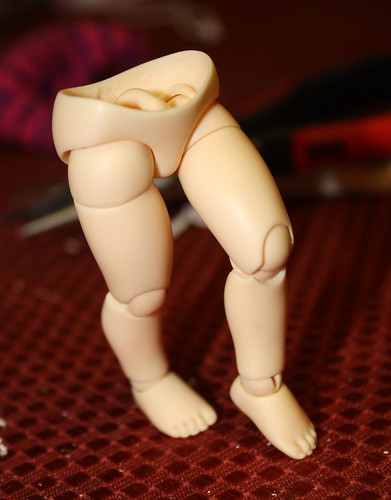
Here's the legs all assembled:
Part 2: Attaching the Torso
Ok this part I just kind of winged it, since I couldn't find any info on how to do it. It works for me, and my pukifee has great upper body control now.
1. Thread the string through that circle thing in the pelvis.

2. Add the tummy.
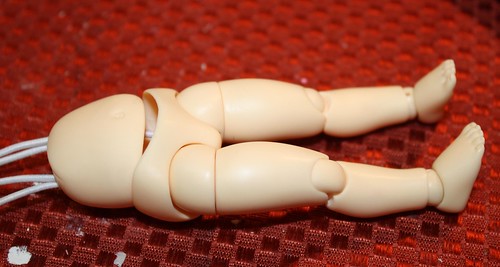
3. Add the neck piece and head, and pull the elastic through (the neckpiece has an F on it for front).
4. Tighten the string as tight as you can, and slip in the s-hook. You're done!
 |
| You can trim the excess off if you want. |
Part 3: Tightening the Legs w/o Restringing
So what if you got your torso perfect, but the legs are still a bit loose? Do what I did, and pop the little foot off, unstring the leg with the knot, tighten the knot, restring. Done!
You will want to make sure that knot does not get stuck at the knee. It needs to either be in the shin or up in the upper part of the leg, or else it will get in the way and affect posing. Mine started to do this, but I'm lazy and my fingers hurt so I left it as is for now.
It's a miracle!!! Click here for the poses I was able to do with this restringing method.
Thank you so much for this!! I recently got a Pong from S/L and the legs were just so horribly kicky and he wouldn't sit at all. Thanks to this guide, I was able to fix him and he's perfect! :D
ReplyDeleteI'm so glad this was helpful!! ^_^ Enjoy your Pongpong!
DeleteThanks for this! I think you forgot the arm part, though!
ReplyDeleteHi glad it could help! I'm lazy and don't like to restring arms if I can help it. All arms are generally strung by the same methods so once I've done it once I don't tend to do it unless needed. XD
DeleteThank you so much for your instructions!! I have a Luna and her head is all wonky and won't sit right. Her poor legs and arms almost curl up because the elastic is so tight. I plan to give this a try! Thanks again!
ReplyDeleteI'm sorry for the delayed reply!! I hope this was helpful. Did you get your little luna restrung?
Delete