You'll need:
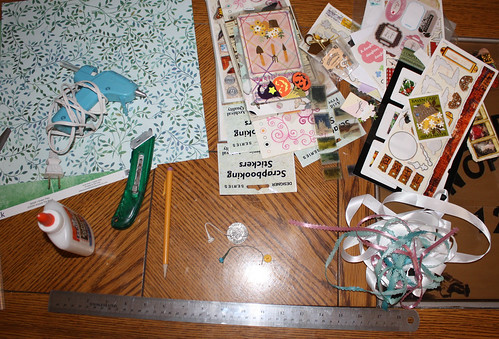
- Cardboard (thickness is up to you, but I like to use corrugated cardboard)
- Glue (Elmer's white glue or glue stick, hot glue or super glue or other strong glue)
- Dark tea bag, steeped (but don't burn yourself!)
- Match or lighter
- Water
- Decorative objects (flowers, scrapbooking materials, stickers, etc)
- Printed pictures
- Ribbons
- Decorative paper and/or fabric
- Stapler or thread and needle
- Scissors
- Ruler
- Pencil
Step 1: Tea Staining

Let the paper dry thoroughly.
Be sure to stain both sides of the paper and don't use until dry. While drying, proceed to the next step.
Step 2: The cover
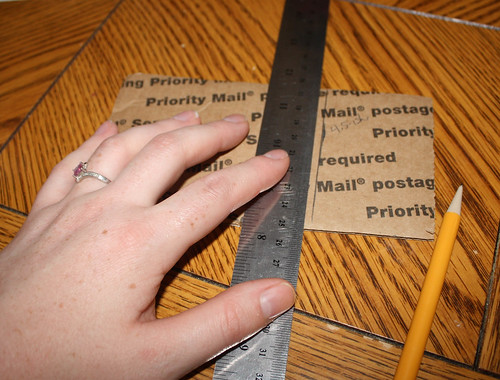 Cut a rectangular piece of cardboard to the dimensions you need.
For a 42 cm doll I used a piece of cardboard about 6"x3" give or take. This makes a book about the same finished size as the ones in this tutorial.
You will want to leave a few centimeters in the middle to form the book's spine and so you have a place to add your pages.
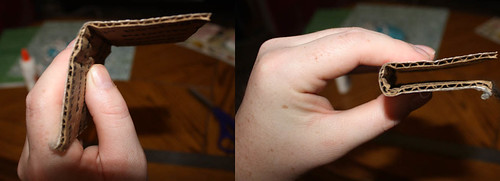
Fold the sides of the cardboard down to make a crease, leaving a bit of space for the spine. The larger your spine the more pages your book will hold.
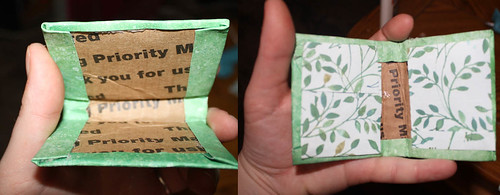
Step 3: Decorate cover, add book marks
 This is where your gluegun or other strong glue comes in.
Cut a bit of fabric or paper to be slightly larger than your cardboard.
Glue the edges of the fabric all the way around, and let it dry.
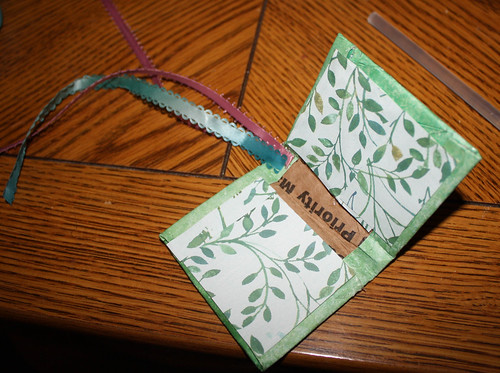 After it is dry, cut some strips of ribbon several inches long (they may
look too long but when all your pages are in there very little will
hang over the edge).
After it is dry, cut some strips of ribbon several inches long (they may
look too long but when all your pages are in there very little will
hang over the edge).Glue one end of the ribbon onto the spine of the book to create some book marks. Add fray check or something to the other end of the ribbon to keep it from fraying.
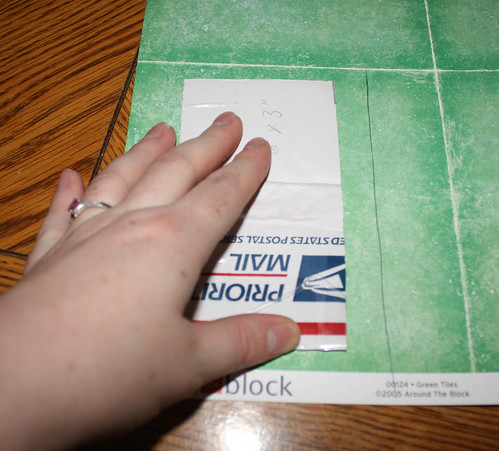
Step 4: Antiquing the Pages
Your tea-stained paper dry? Awesome. At this point you will want to measure out rectangle slightly smaller than your book (you can choose to make them larger and hang out the edge if you'd like). Cut out and make several stacks of these rectangles. You can crinkle the paper, tear it, or do whatever you want to it before burning.
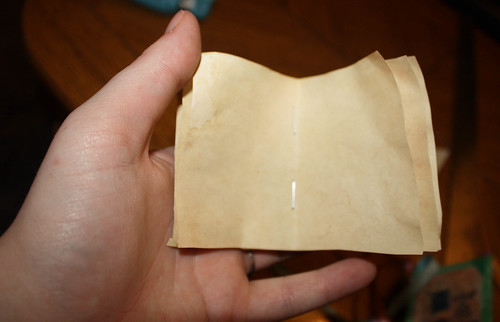
Fold the rectangles in half and set them in the book (don't glue them in just yet!) this is just to see how thick you want the book to be and still be able to close. Once you see how many stacks it will take to make your book the thickness that you want, keeping in mind any extras you put in to decorate will make the book thicker, staple or stitch the packets.
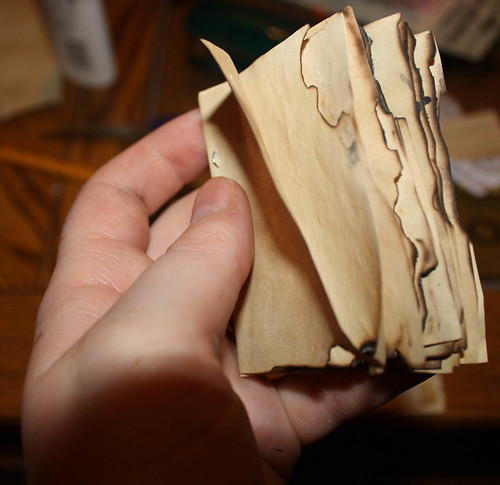
Next, get your match or lighter with your water handy, and light the edges of the pages on fire, and otherwise add burn marks and scorch marks for an aged look. You don't want them to burn too long or your pages will deteriorate. The idea is to go for a slightly worn look, not a tossed-in-a-bonfire look.
Warning: it is very easy for flames to get out of control! Always keep water or a fire extinguisher handy just in case, and be sure there is nothing flammable near your burn space. If you are a kid or unsure if you can do this, have an adult do it for you. Be sure to get parental permission!
Step 5: Place pages in the book
 For this step, add a line of hot glue or your strong glue to the spine of each packet and hold them into the book's spine until dry.
Continue adding the packets as you need. Be sure to keep the ribbons above the book so they don't get glued behind the pages!
Trim any excess from the outside of the book, and make sure things are nice and even and dry.
Step 6: Decorate the book
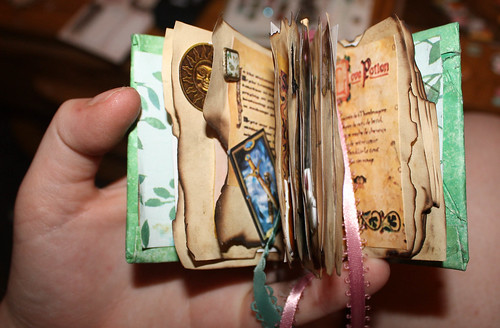
This is the fun part and entirely dependant on your imagination! What I did was look around online for neat-looking pages, like sheet music or book of shadows pages, and size them in Photoshop, but you can use Paint and Word. You can make your own, but I didn't for this tutorial. Print these, cut them out, and use your Elmer's glue or other glue to place them onto the individual pages (make sure not to use hot glue for this part or the pages will be bumpy and thick).
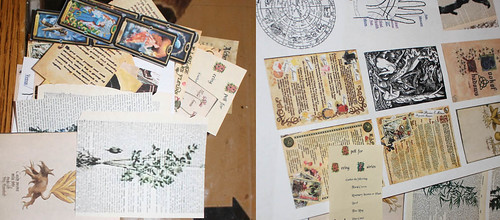
From this point, it's up to you. You can glue tiny cards and flowers, add stickers or other scrapbook supplies, add your own sketches or writing into the book, whatever you'd like.
 If you want to work with a theme or organize your book decide on that before you start gluing things in. Once everything's in, you can't reaarange it. I personally like the cluttered look, so I made mine messy and disorganized.
 Make sure as you work on individual pages that you leave room for the pages to dry or they will glue together with all your little details stuck between them and possibly getting ruined.
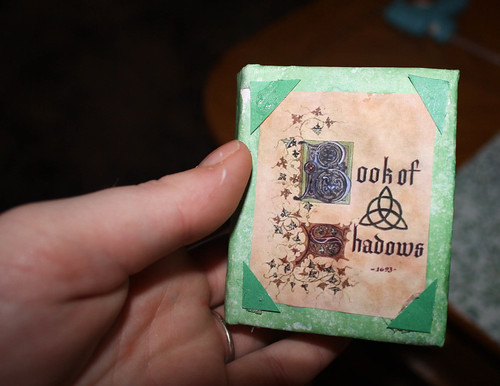
Here I decorated the cover to look like the book from "Charmed".
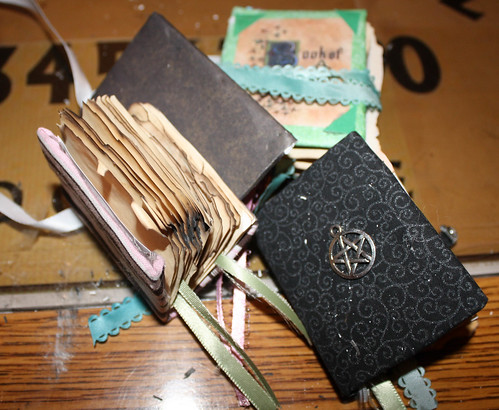
Step 7: Adding a Closure (Optional)
If your book is thick or you simply want a closure for your book, glue some ribbon or matching fabric in a little strip to the back of the book. Stitch or glue a snap to the cover and the other end of the ribbon, let it dry, and voila! Closure. Alternatively, simply glue a really long ribbon to the back and wrap it around the book to close.
The sky is the limit and you can use this tutorial to make many different kinds of little books. As a bit of advice, when reducing image size, increase the pixel resolution to make the images clearer.
I hope this all makes sense! If you need more photos or details or whatnot, post a comment!
This was originally posted on my long neglected blog the Pagan Housewife. It shall probably be deleted.
Thank you for viewing, and happy collecting!
No comments:
Post a Comment
Thanks for reading! <3 I try to follow up on every comment my readers make.