I have a guest post this week from Scarlet Study. She wanted to do a sewing tutorial for the first of my Tutorial Tuesdays (hey, it's still Tuesday!). This tutorial uses swatches of faux fur like those from Distinctive Fabrics online or from your local fabric shop. These arm and leg warmers are great for your ravers or scene kids. This tutorial is easily adjusted to work with other types of fabric or styles.

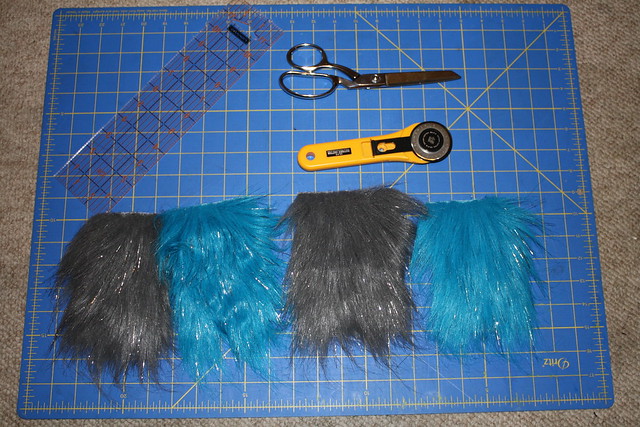 Step 1: Firstly, gather your needed supplies. You will need a pair of scissors or a rotary blade and a ruler , two pieces of long haired fur, a spray bottle, and a sewing machine or a hand needle and thread.
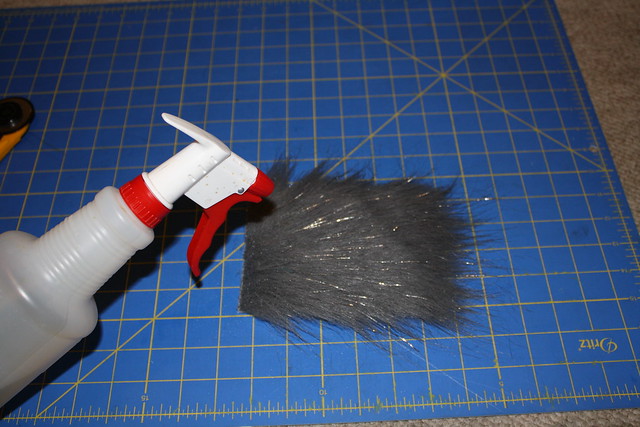
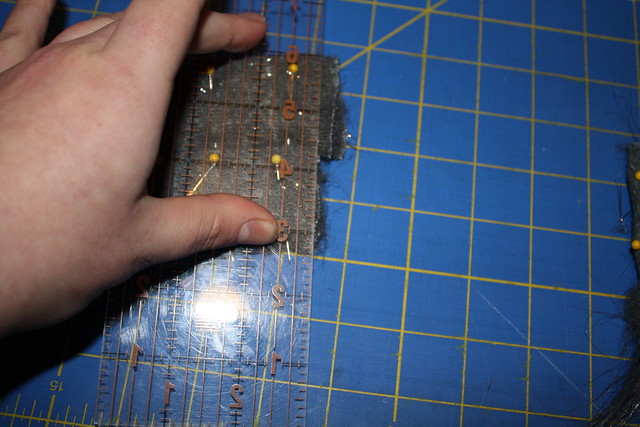
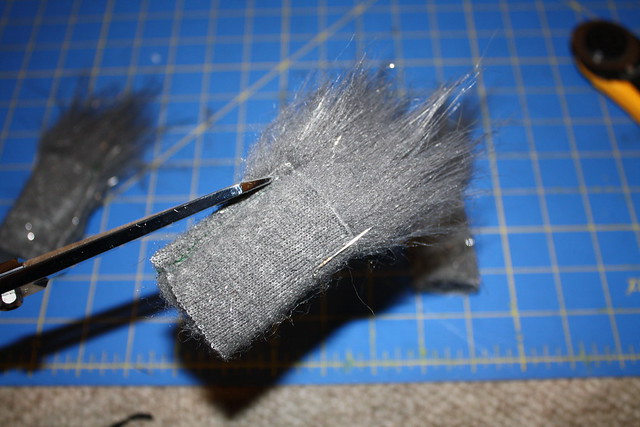
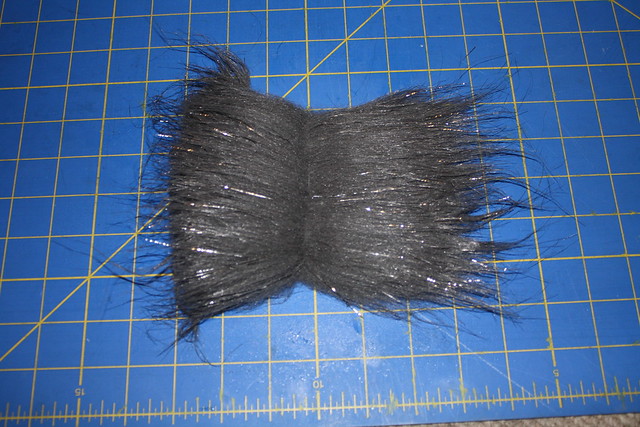 Step 3: Next, find the middle of you fabric and spread the hair aside so that you can make a clear cut across the fabric without cutting the fur. This will make sure that your finished warmers have long hair extending passed the bottom of the warmer.
Step 4:
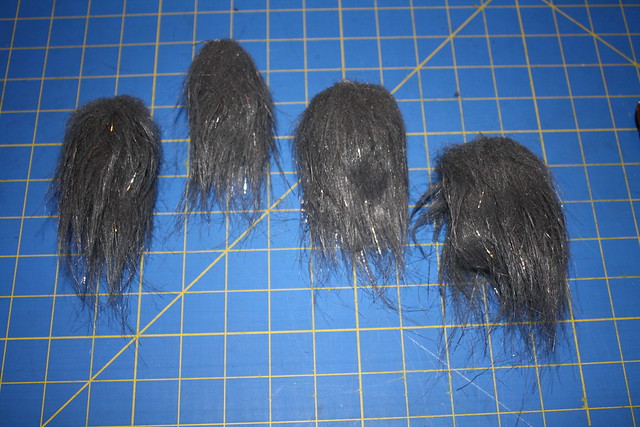
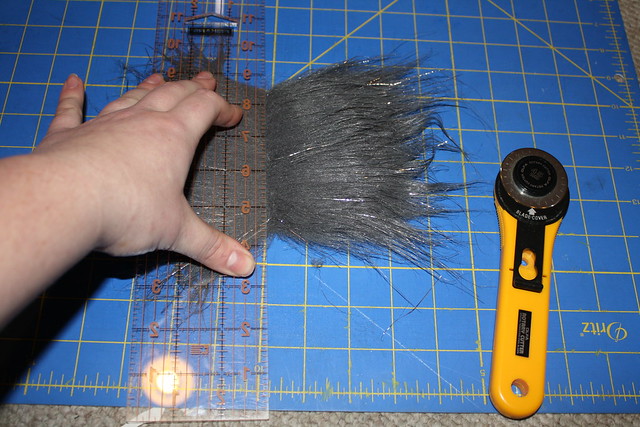 Cut the fabric in half using either the rotary blade and ruler or a pair of scissors. Do this for both of your pieces of fur, giving you four in total.
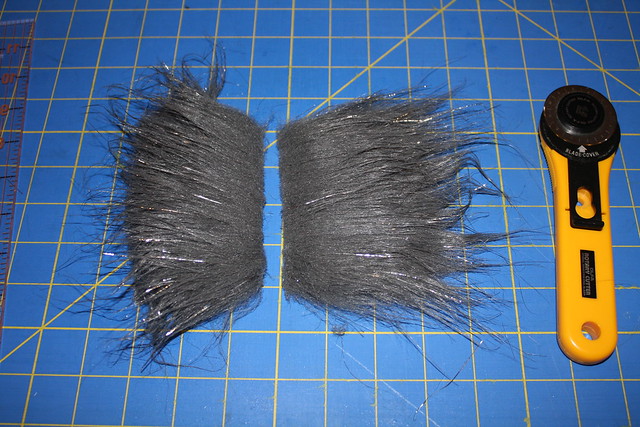
-----> Use a ruler to make your line straight.
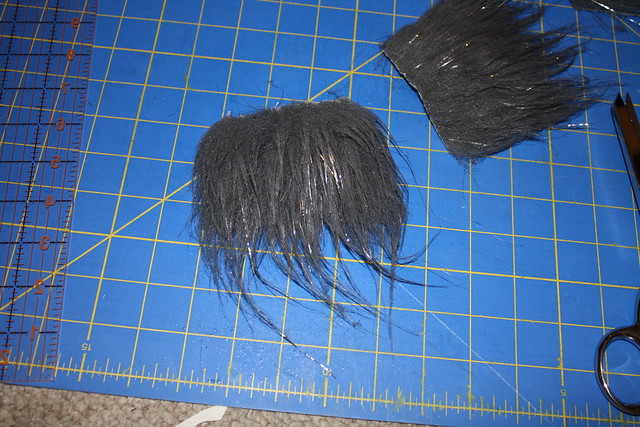 Step 5: Smooth the fur back down and separate the two smallest and two biggest pieces. These will be your arm warmers and leg warmers respectively. The fur will shed! Don't worry too much about this just pull of the excess fur gently so that you don’t unravel the fur more.
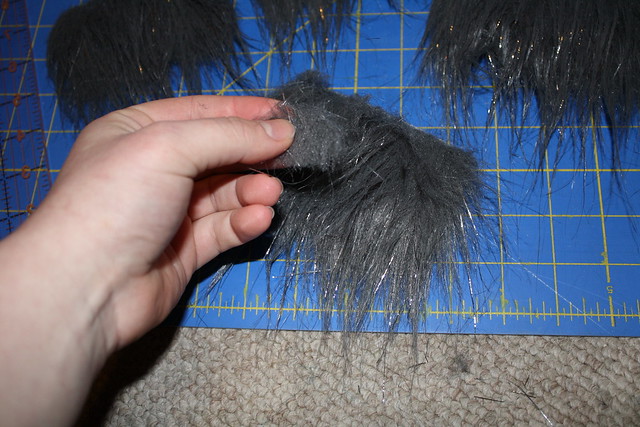
<----- See the fur shedding? Remove that stuff.
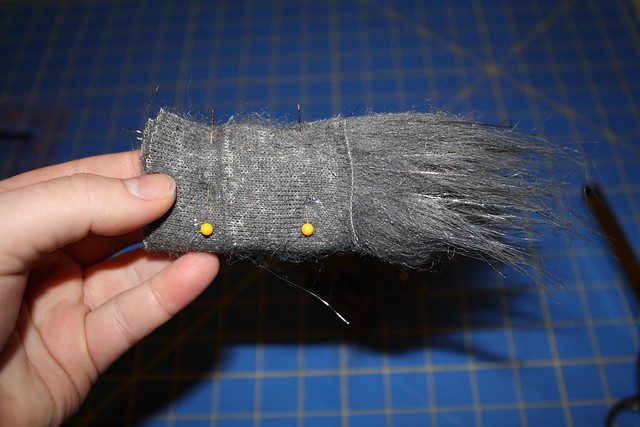
Fold the fur in half and pin. Make sure that you smooth the fur down in between the pins to make sure that the finished piece is smooth all the way around. Do this for all four pieces and then line them up. Make sure your arm warmers are roughly the same size. Do the same for your leg warmers. Your leg warmers should be larger then your arm warmers.

Step 7:
If you need trim your arm warmers even, cutting from the top NOT the bottom. Do the same for your leg warmers.
If you need trim your arm warmers even, cutting from the top NOT the bottom. Do the same for your leg warmers.
 Step 8:
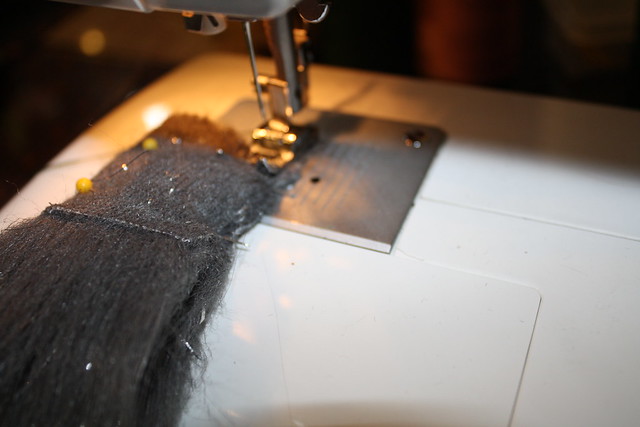
Sew the fur together, making sure that you use a strong stitch. I recommend going over the seam twice on a machine.
 Step 9: Trim you strings, and then inside out the warmer.
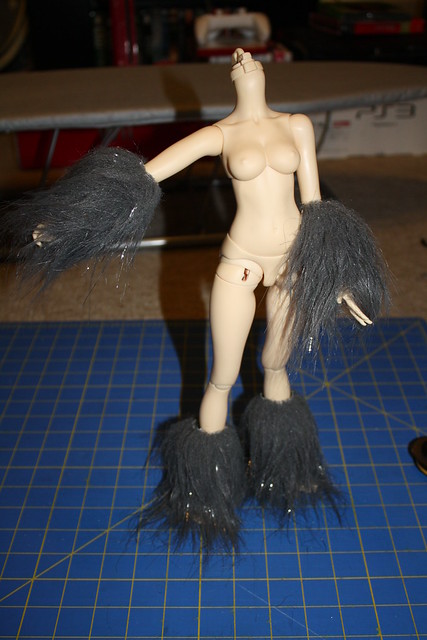
Step 10:
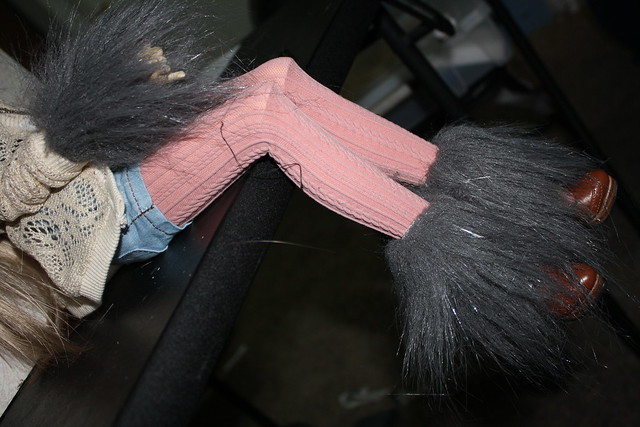
Try the warmers on your doll, if you need to inside out the warmer and sew them smaller. If you do this be careful when cutting the seam down (so that it won't be too bulky inside) so that you don’t cut the fur awkwardly. Be sure to smooth the fur towards the inside and then cut.
Try the warmers on your doll, if you need to inside out the warmer and sew them smaller. If you do this be careful when cutting the seam down (so that it won't be too bulky inside) so that you don’t cut the fur awkwardly. Be sure to smooth the fur towards the inside and then cut.
And you're done!
Thanks for looking, and Happy collecting!
I'd like to suggest to cut the fur from the backside using a craft blade. The fur barely sheds if at all if you cut it that way.
ReplyDeleteWonderful suggestion, thanks!
ReplyDelete