The minifee version of this pattern was inspired by an existing pattern called Robe Soleil, located at MHD Designs here. "This ensemble is based on a fashion pattern from MHD Designs." The originator of the pattern has asked to be credited, so there ya go!
This pattern is incredibly versatile. As the original creator noted, you can change the length of the skirt panels, add more panels, change the shape of the halter, add ruffles, hem the skirt, leave the skirt to fray, etc.
You will need:
Fabric (light cottons or flowy fabrics work best, and you don't need much for a minifee)
Ribbon (or other trims to make the ties for the halter and trim the skirt)
Snap or velcro- to close the dress back
Step 1: Draft your pattern pieces. (I would scan the pieces for you to print, but my printer is out of whack so I won't be able to do that right away.)
Note: Don't forget to add some room to each edge for a seam allowance.
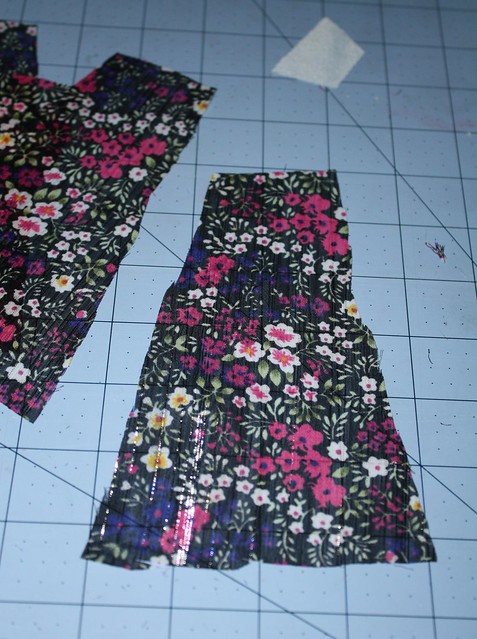
To Draft the Skirt:
The wider you make the top and bottom, the more room you will have for gathering. I don't recommend making them too big unless you are making a skirt that sits at the hips.
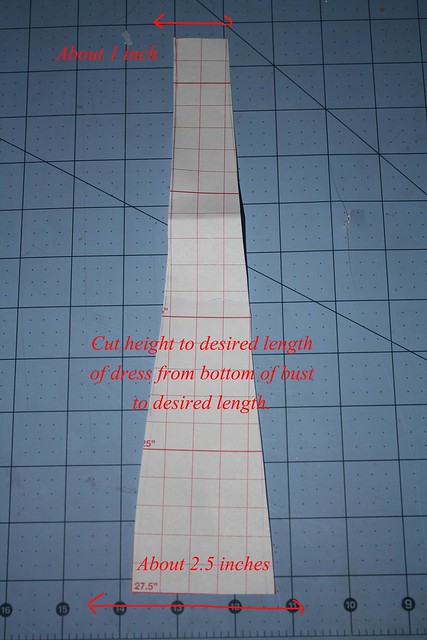
You will end up with a piece that looks like this image to the right.
To Draft the Halter:
For this tutorial, I cut the halter top wrong, so my finished dress looks a bit funky.
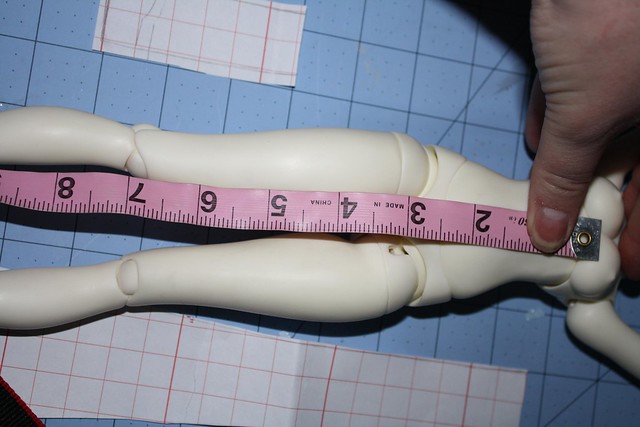
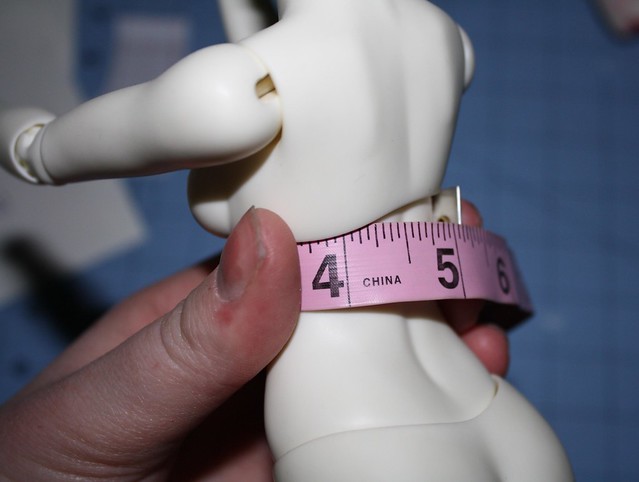 First measure across your doll's bust from armpit to armpit. Divide this by 2. (So for a minifee you get about 5/2=2.5) Draw a line equal to this number. This will be the bottom of your pattern piece.
Next, measure from your doll's neck to the bottom of the bust (the lower on the neck you measure the lower the halter top will sit). Draw this line on your pattern.
For the top of the pattern piece, simply draw a line about halfway along the bottom line. Estimate an armpit size (it doesn't really matter).
You will end up with a piece like this.
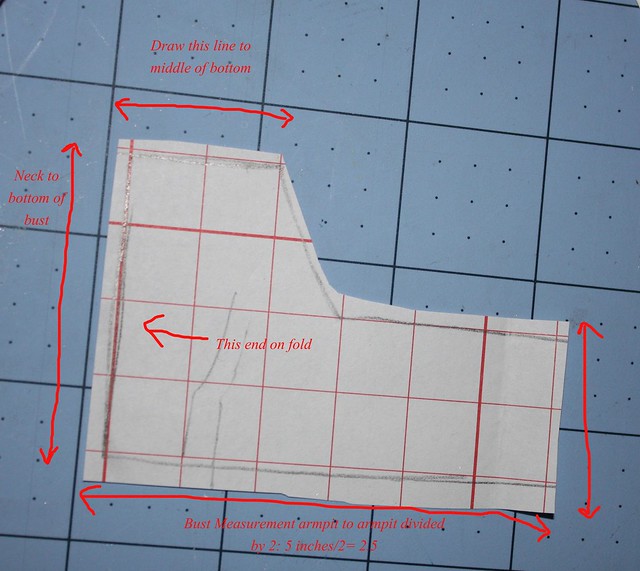
Note: For the tutorial, I cut the wrong way along the fold. Put the shorter end on the fold, NOT the longer end, like I did.
Step 2: Take a fabric (something lighter tends to work better than the thick fabric I used in the pictures and tutorial) and cut out 8 of the dress pieces and 1 of the top. Also cut out 1 of the top piece as a lining. For a fuller skirt, add more panels.
For this tutorial, I used muslin for the lining.
Step 3: Use ribbon or other cord (or make straps from your fabric) and sew them to the fabric of your top piece.
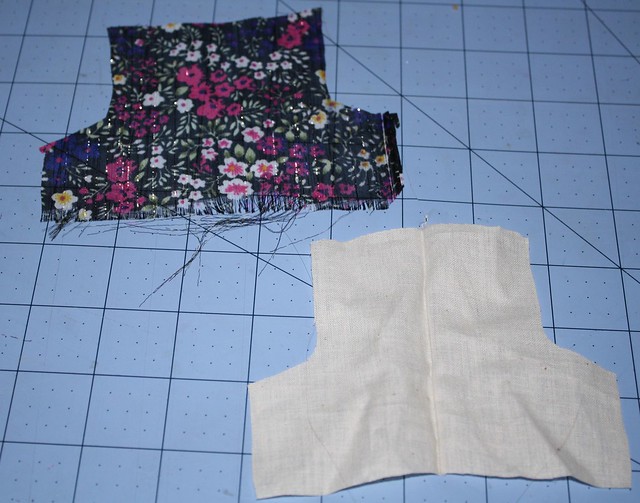
Step 4: Put the top piece and the lining right sides together and sew, leaving the bottom edge open. Turn the pieces right side out and iron them. You can sew this bottom edge closed if you'd like.
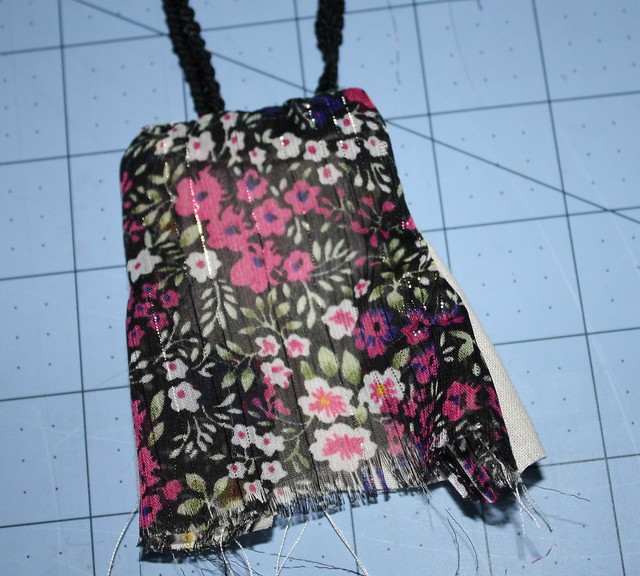 |
| Finished Top |
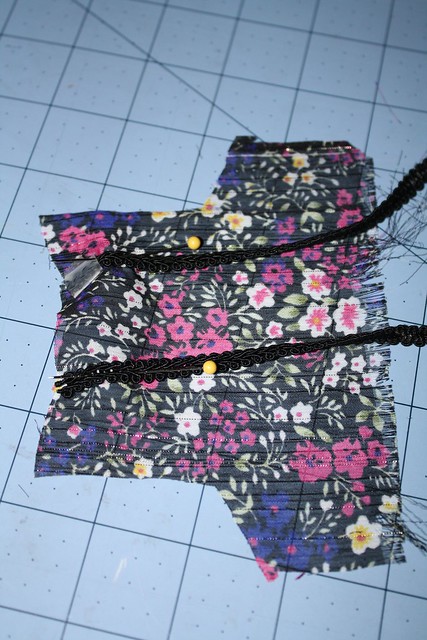
Step 5: Stitch the 8 panels of the skirt together. Be sure to trim up excess fabric at your seams and to iron.
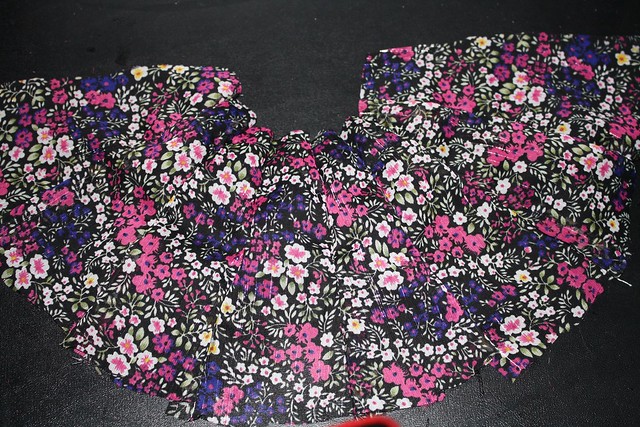 |
| All panels together |
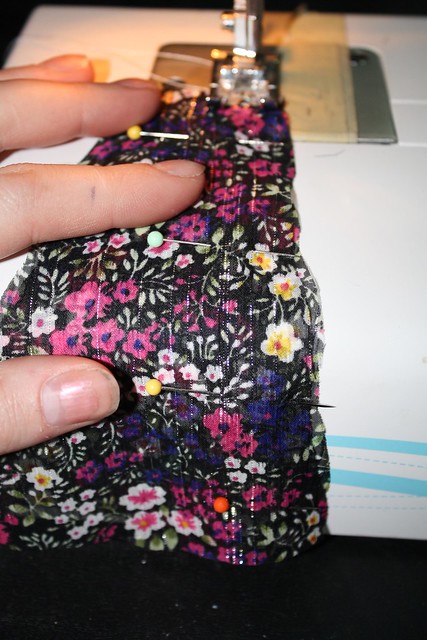
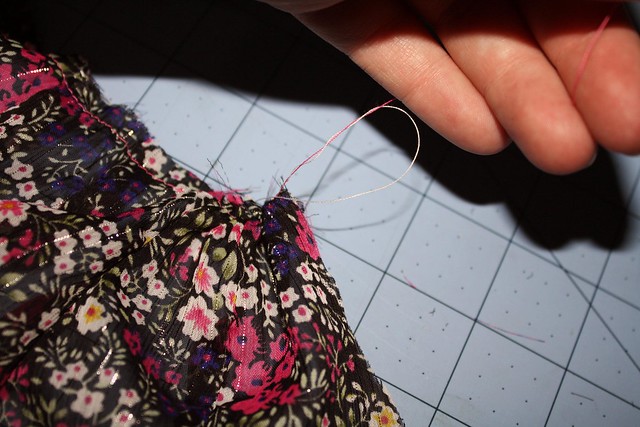
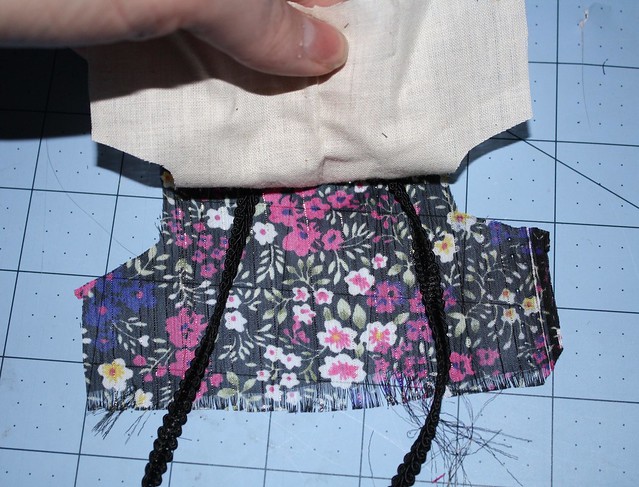
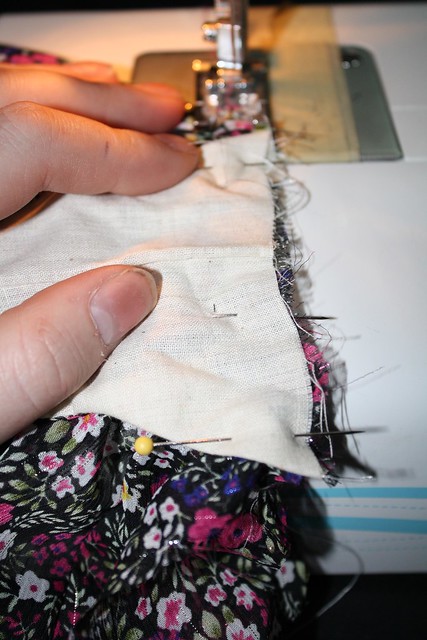
Step 6: Baste along the top of the skirt, and then gather this part until the width of the skirt matches the width of your top piece.
Step 7: Stitch along your basting stitch to secure the gather. (You don't need to press the seam here, or at least I didn't.)
Step 8: Put the top piece and the skirt right sides together and stitch. I added a second row of stitches very close to the first set to secure this seam.
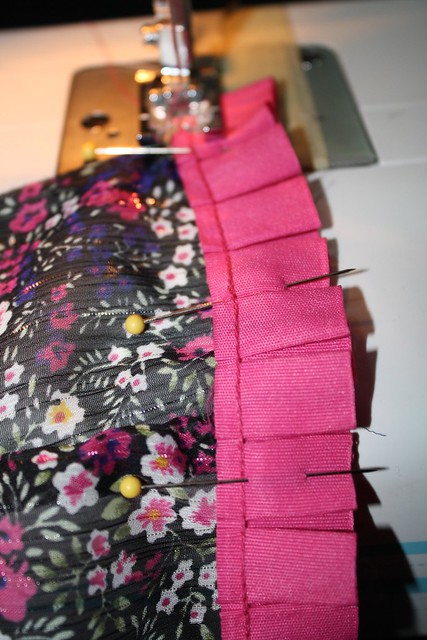
Note: If you want to add anything to the dress, such as ruffles or other details, do it now.
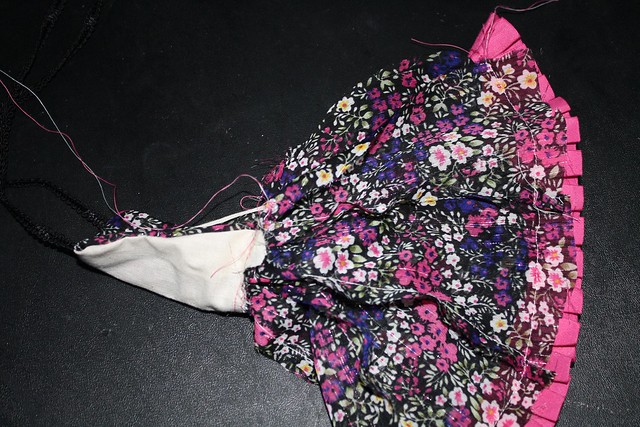
Step 9: Next, with right sides together, stitch up the back of the dress. Leave about an inch or so so you can actually get it on your doll. Press this seam as well.
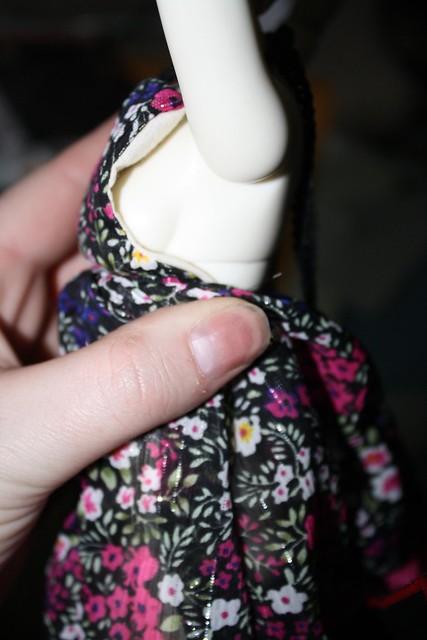
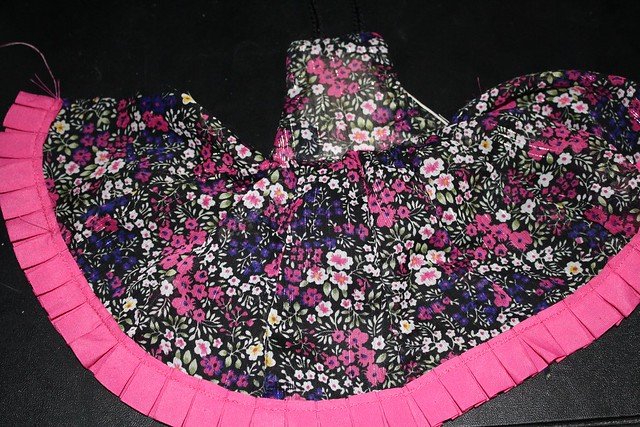
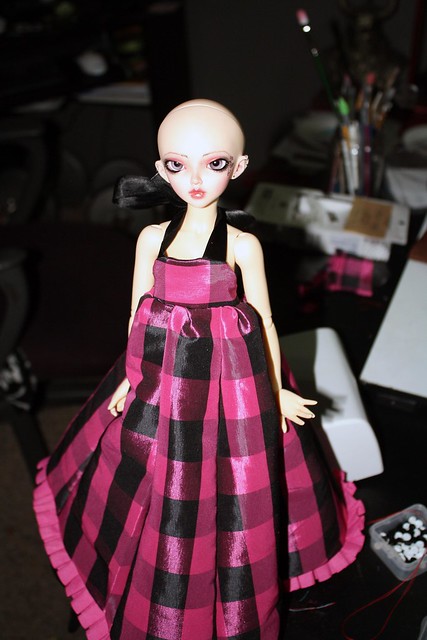
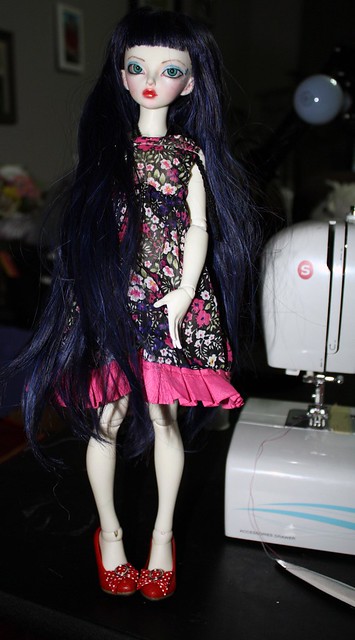
Step 10: Put the dress on your doll, and measure where you want to put the buttons or snaps. Mark this, and then put them on the dress. I used little buttons, for the pink and black example below and snaps for the flowered example, but you can use snaps or whatever you'd like.
Step 11: Put the dress back on your doll and pin the hem. I did this while on the doll so that the hem was as even as possible. Sew the hem. If you want, add ruffles in Step 8 so you don't have to hem it, or leave them raw for an earthy, unfinished look.
And there ya go! A minifee-sized sundress just in time for spring. If you have any adjustments you made or just want to show off the dress, I'd like to see them! Link me to your photos or send a picture to my email amaranth886@yahoo.com
Be sure to check out the creator's site for the SD sized version.
As always, thanks for looking and happy collecting!
No comments:
Post a Comment
Thanks for reading! <3 I try to follow up on every comment my readers make.