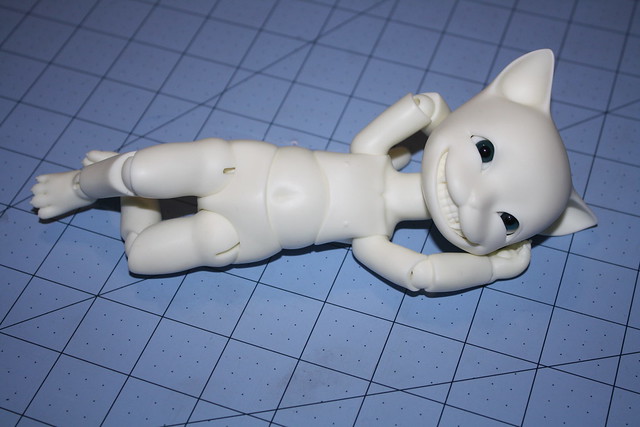
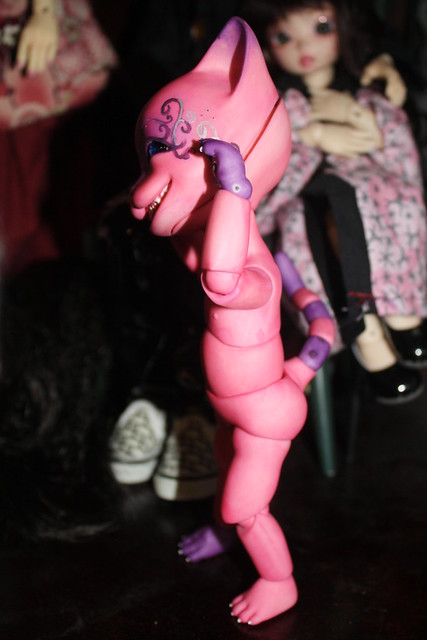
This is a mostly text tutorial for how I dyed a recast Pipos Cheshire cat, named Grimalkin, or Big Brother Grim. He began white-skinned:
Materials:
R.I.T. Dye, powdered (I used one packet in a cup or two of water; use less dye for less saturated color.)
Pot (one you will never cook in again)
String, strainer, tongs, etc
Paper towels, q-tips, etc.
bowl of cold water
Basically, mix the dye into the water according to the directions on the packet. The more powder/less water you use, the strong the color will be. I used just enough water to cover the largest part of the body when completely submerged. Bring the dye to a boil, then reduce the heat. You'll want to keep it pretty hot though, so be careful not to burn yourself.
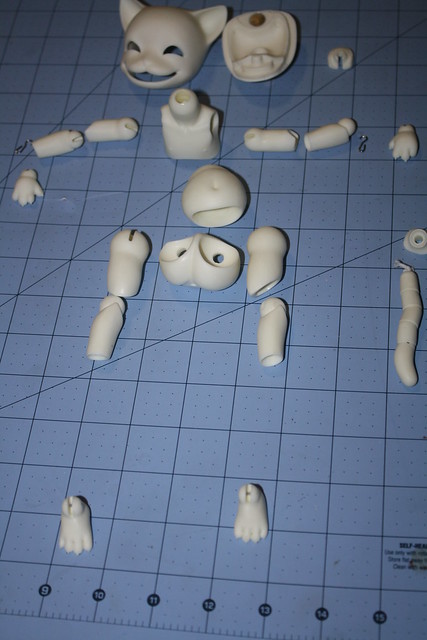
Un-string the doll, wash and dry it thoroughly, and tie some string around each piece. You'll use the string to dip the doll into the hot dye.
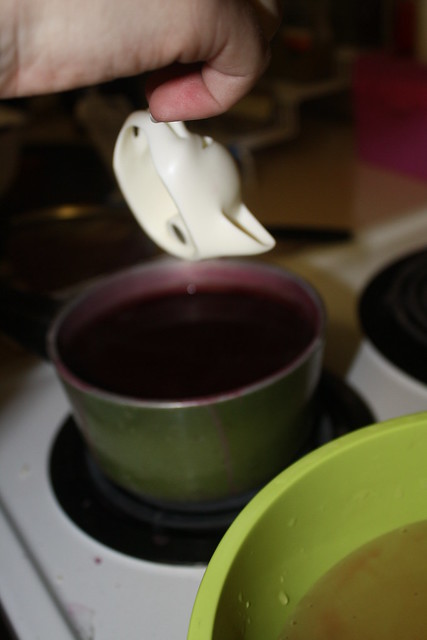
Dunk each piece of the doll into the dye. I recommend starting out with a test piece, like a head cap or other piece that won't be seen. Use this piece to determine how long you will submerge each piece and to help match the shade of all your other pieces. Smaller pieces should need less time.
Once you figure this out (I believe I held each piece for 30-45 seconds at a time per dunk), dunk the piece into a bowl of cold water to rinse off all the extra crap and dye. I also use paper towels at this point to blend the dye around the doll and try to even it out. Let it dry, and then follow the procedure until the doll is the color you want. You will need to replace the cold water often.
Hang the pieces to dry with the string on a hanger or curtain rod or something. Be sure to put newspaper or something below to catch the drips. If you see the dye running, just touch the spots up as best you can with q-tips or paper towels.
Note: You may find it easier to place smaller pieces into a strainer, like I did for Grim's tail. If you do, just keep the pieces moving with a spoon or chopstick or something. Also, you can place the pieces directly into the pot of hot water without using string, but just be careful not to let the pieces rest on the bottom of the pan or they can burn. Also, sometimes the resin can be a little malleable after having been boiled, so handle with care.
Warning:
Sometimes the doll will not take dye evenly. This is usually because there is some kind of oil (like mold release or something from your fingers) or sanding (places that are sanded will not dye as dark as those that are not). You can choose to sand the whole doll evenly if you want. I didn't bother.
I spent a few hours on this doll with some help from my sister. I ended up letting him dry overnight, and did a second round of dunking with a fresh pot of dye. You will want to seal each piece thoroughly with something like Testors or Mr. Superclear. This will help hold the dye and can prevent rubbing. The dye will likely not be perfect, and Grim has a few spots where we could not get the dye to hold dark, even with rubbing and smoothing. You can use pastels/airbrush/paints etc to even up the color to your taste.
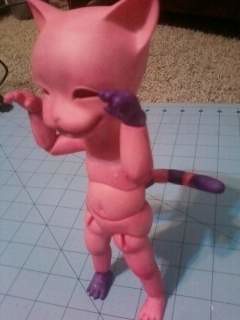
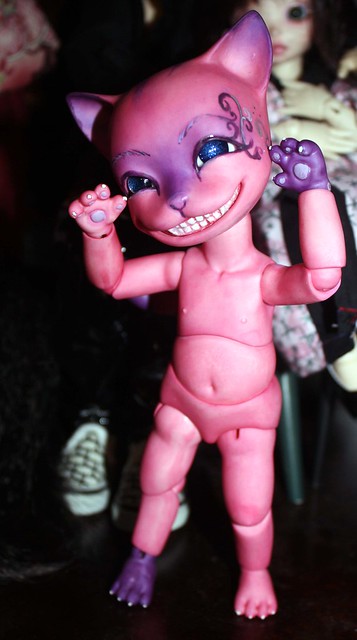
After some body blushing and an almost finished face up he looks like this:
I hope this helps a bit with dyeing. You mostly just need to be brave and go for it. Good luck!
Thank you so much for sharing! :D
ReplyDeleteThanks for reading. Glad you enjoyed!
ReplyDeleteOh Bless you & your nerve! lol
ReplyDeleteYou have inspired my wild side, I'm going for it....
Wish me luck!
And I forgot to add that I think your Cheshire kitty looks fantastic!
ReplyDeleteSuperb my dear, simply superb:)
Aw thanks! (But don't let Grimm hear that or I'll never get the cocky little stinker to hush up!)
DeleteI'm sure you'll do great at dyeing your doll! Just take it slow, take your time. Oh, and link me to your pics when you're done! I'd love to see!
Hi! Could you please help me a little? :) I tried first with a spare dollfie hand but the dye is easily removed -I mean when I touch it it smears :|.
ReplyDeleteShould it be this way? Or should I wait for it to dry and it won't smear then? Or maybe I bought wrong dye? I cannot buy exactly the same kind of dye I find on tutorial pages since I live in Poland :)
Thank you for any tips!
Oh, and when putting into cold water dye just goes off mostly *_*
DeleteMaybe any tips what clothing dye I should find?
hmm....how long are you soaking the pieces in the dye? Maybe try soak a bit longer. A lot of the dye will come off, so you'll have to do lots of dunks in the dye either way.
DeleteIf the dye is smearing, it might be because there is a little mold release on that part of the doll. Make sure all the parts are washed really well before dyeing.
You can try blending the dye into the resin with a paper towel too. This will take some of the dye off, but it results in more even color. Let the layers of dye dry a bit before dipping them again as well.
For dye, I've always just used RIT dye. I'll have to dig around and see if there are other good dyes to use.
Try these tips out, and feel free to message me here or in my email if you need more help!
amaranth886@gmail.com
I like this tutorial but I would also love to know how to remove dye. There's a body I might be purchasing soon and it's a failed dye project. I've been searching and searching but I can't find any tutorials on how to restore a doll that has been RIT dyed.
ReplyDeleteIn order to remove the dye off this guy, I soaked him in oxyclean and then used pure acetone and a magic erasor and with very little effort about 90% of it came off. I could probably have removed all of the dye this way if I'd worked at it. I know some people have to do a light sanding to remove traces of dye, but I'd give acetone a shot first. Test it out though before going at the whole doll to make sure it doesn't react weird, and neutralize the acetone afterwards by washing the doll in plain Dawn dish soap afterwards!
Delete