As promised, here is my Soom Tiny Centaur Restringing Tutorial. This is my first time restringing one, and I haven't gotten the tension exactly right for my tastes. Next time's the charm! Pardon my dirty nails; it's MSC from spraying the hooves.
As a note, this is a recast centaur. Please reserve judgment, but don't post the pictures anywhere recasts aren't welcome.
As a note, this is a recast centaur. Please reserve judgment, but don't post the pictures anywhere recasts aren't welcome.
Most of the pieces are labeled with FR (front right), BL (Back left), etc. The thigh pieces are not marked, but the lower shin and hooves are.
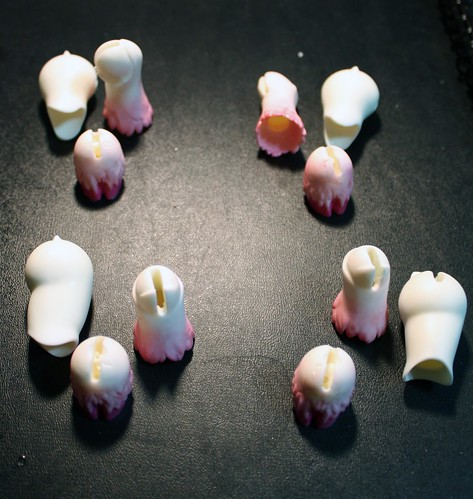
You will need a total of 3 pieces of elastic. One piece you'll use to string the doll's arms (I didn't for this tutorial because I'm happy with the tension of the arms and frankly hate restringing arms, so if you need help with this part comment or shoot me an email). The second piece is for the front part of the centaur, the third for the back part.
Here is the best picture I've found of the stringing with credits to the source of the picture:

Taken from this awesome tutorial for stringing on Den of Angels created by Crimson_falcon: http://www.denofangels.com/forums/showthread.php?476007-How-to-string-a-Soom-Teenie-Gem-Centaur&highlight=centaur+stringing
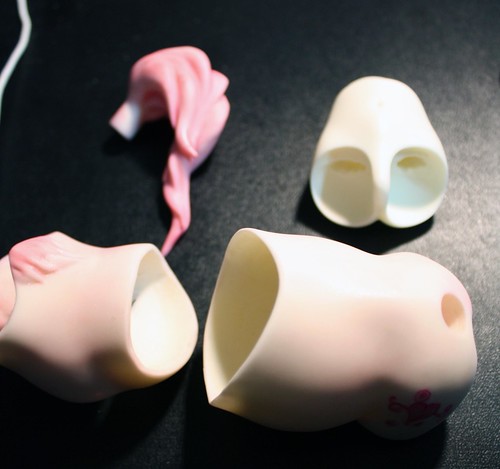
Step 2: Lay out your pieces and determine which pieces go where. The most confusing part of the stringing process is which upper leg parts go in the back and front and which directions to put them.
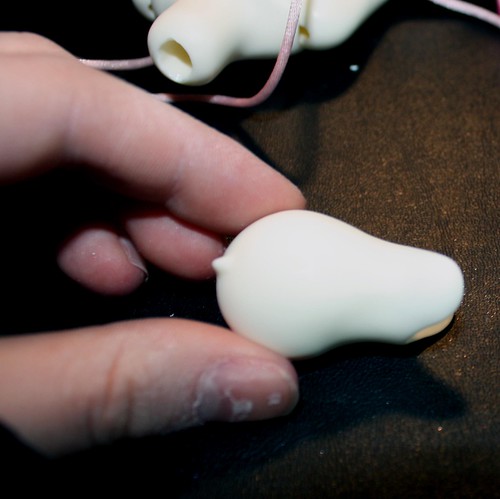
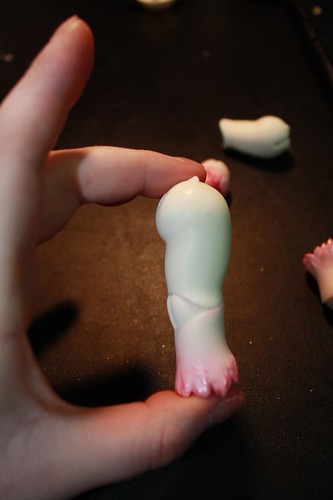
This is the back upper leg part. You should position it like this. The pieces will fit really flush, even on a recast, if you have it turned correctly. Here are a couple more pictures of the back upper leg parts:
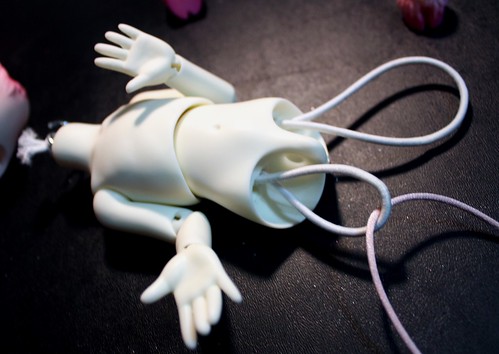
Step 3: Put the string through the front part of the horse body. Fold the string in half, and string it like this:
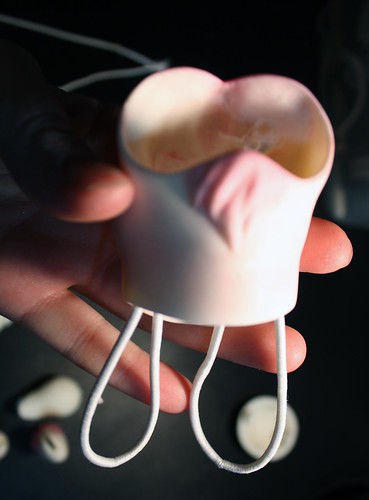
The knot should be in the middle of the inside part.

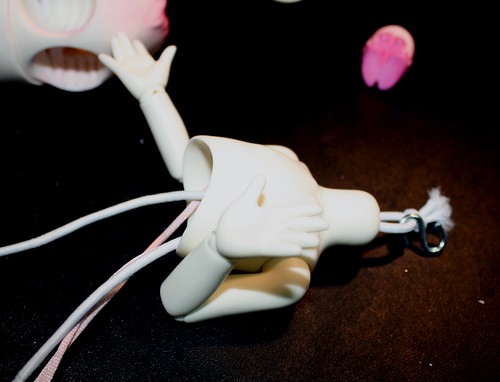
Step 4: Next, take these loops and pull them through the lower horse body part, like so:
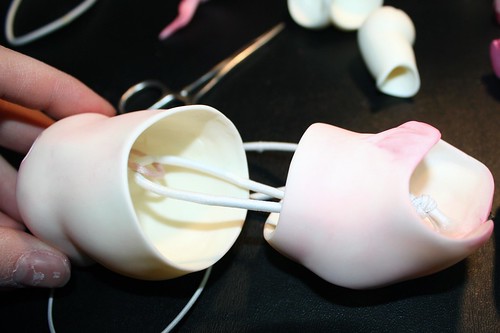
It will look like this:
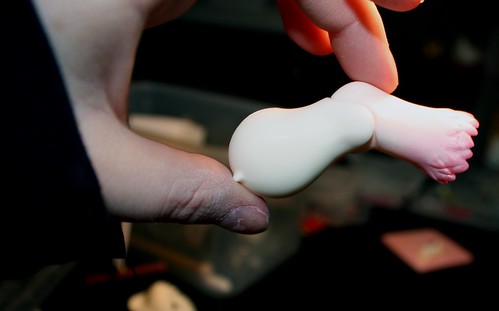
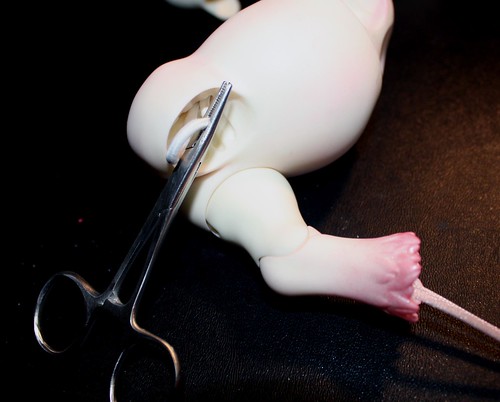
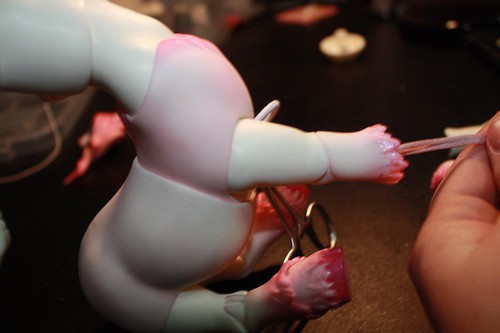
Step 5: String the rear legs. First put the upper leg part on, followed by the lower leg. Add the s-hook and the hoof. Do the same on the other leg.
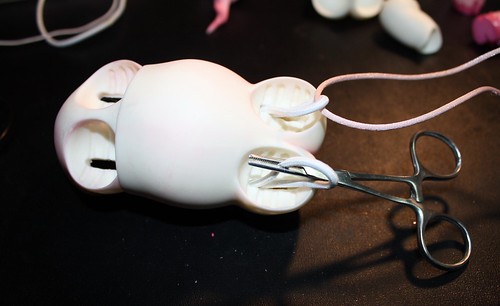
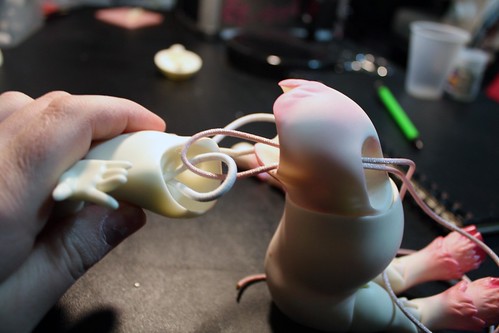
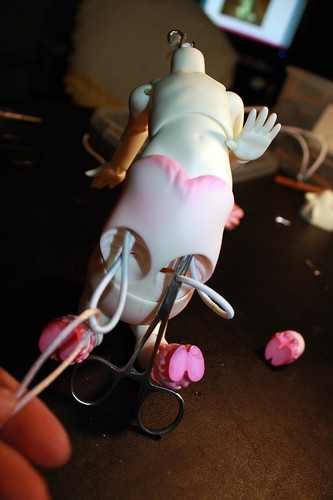
Step 6: Next we will do the front part of the centaur. Bring the string through the top of the upper torso (I like the knot at the top so I can adjust the tension easier).
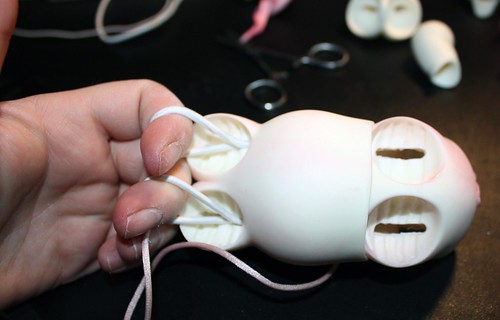
Step 7: Take the loops through lower torso piece. It will look like this:
Step 8: Continue in the same way, putting the loops through the top of the front horse body piece.
Step 9: String the legs!
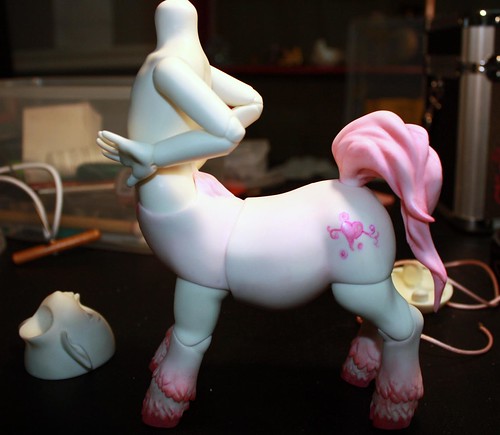
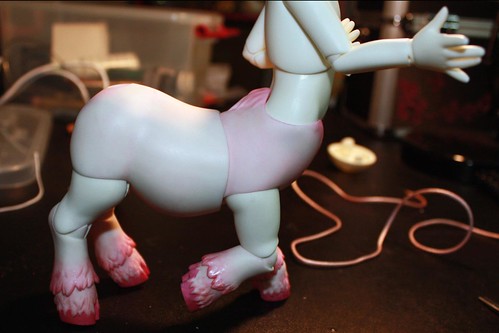
Tada! Restrung centaur!
Useful video tutorial: http://www.youtube.com/watch?v=_jIQ2eLx_fI
DoA restringing: http://www.denofangels.com/forums/showthread.php?476007-How-to-string-a-Soom-Teenie-Gem-Centaur&highlight=centaur+stringing
Here are a few poses I was able to get her to do. I could not get the position where she rears up on her back legs to work yet, and that's because my rear tension isn't tight enough. I should be able to do it the next time I restring her. For now, these will do. :)


Thanks for looking. I hope this helps. Happy collecting!
No comments:
Post a Comment
Thanks for reading! <3 I try to follow up on every comment my readers make.